
A self-watering planter is basically a container with a water reservoir in the bottom, a soil layer above it and a way for moisture to move upward. I built ours from an ordinary plastic pot, expanded clay pellets, landscape fabric and a fill tube.
How I built the reservoir
- Choose a watertight pot or container.
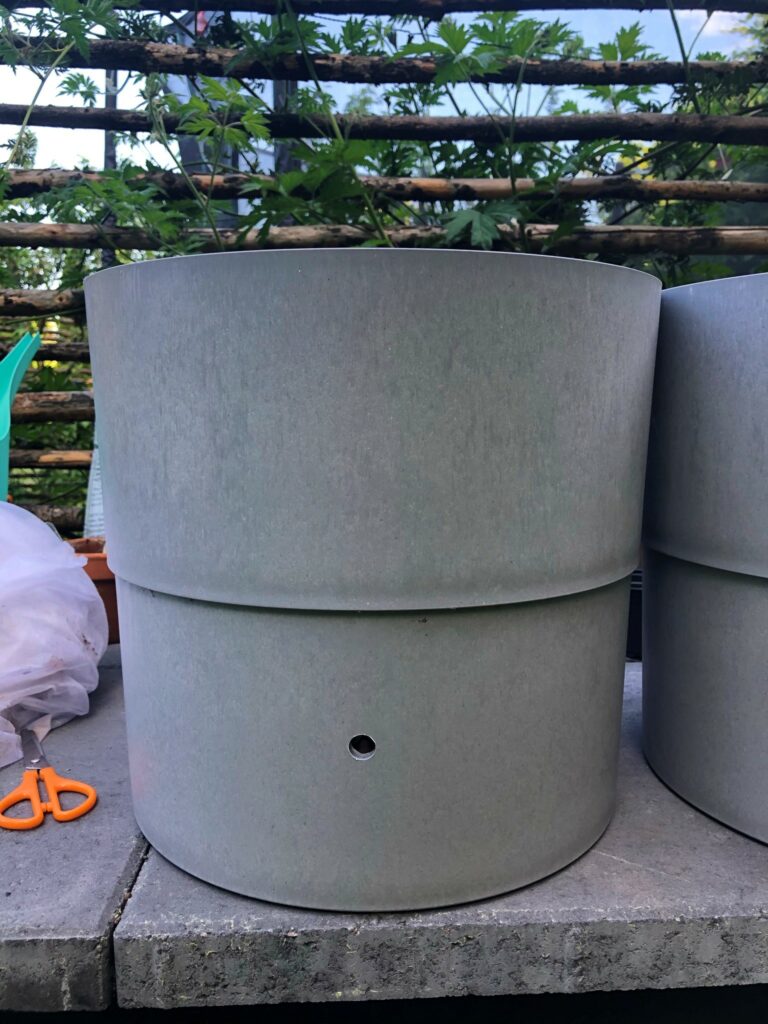
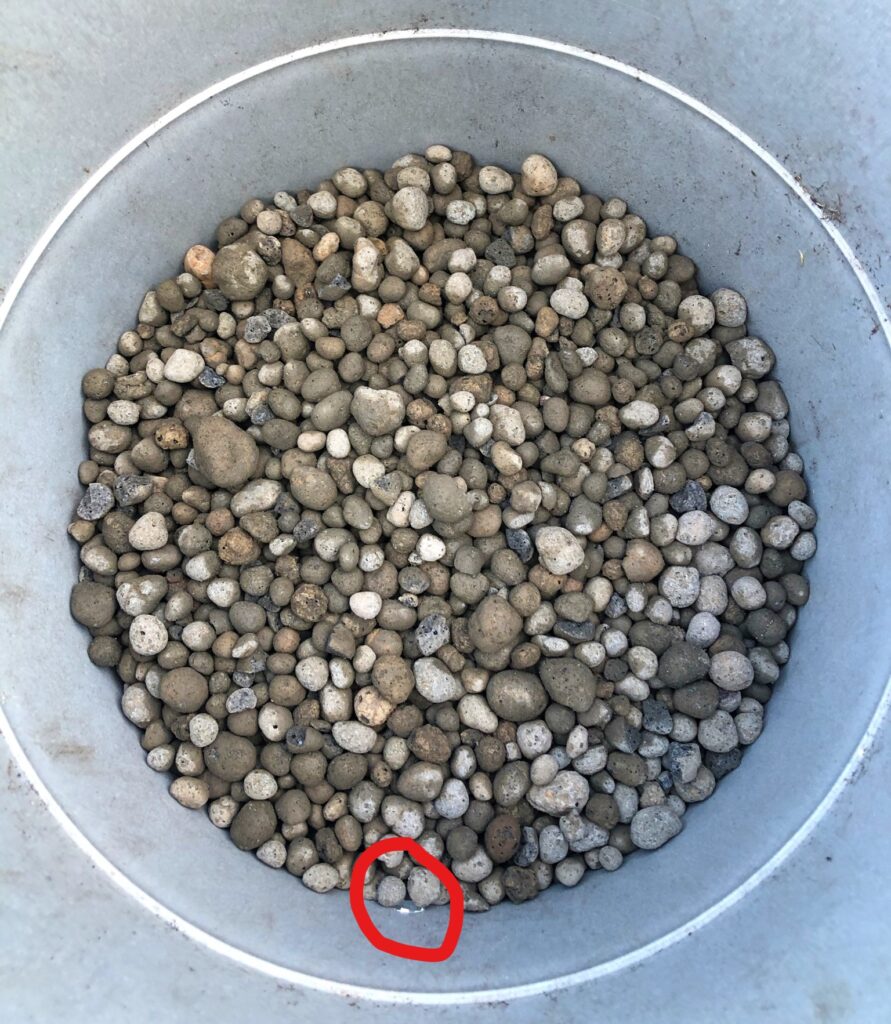
- Drill an overflow hole a short distance above the bottom. Everything below that hole becomes the maximum reservoir depth.
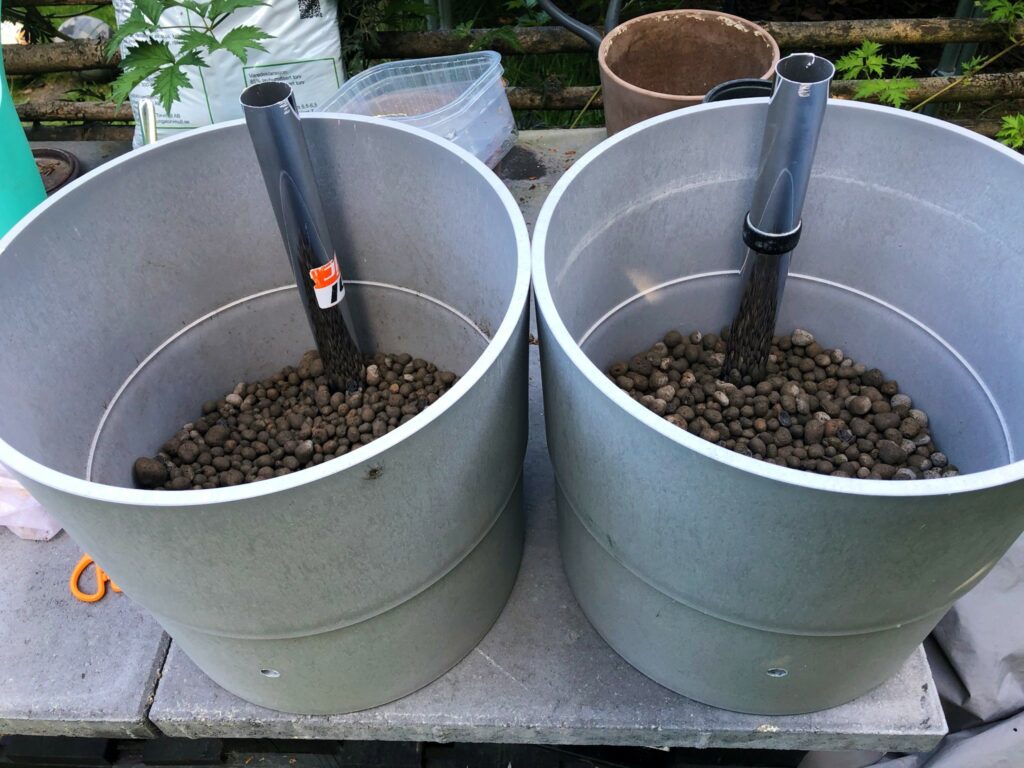
- Fill the lower section with expanded clay pellets.
- Insert a tube that reaches from the top of the pot down into the reservoir.
- Cover the pellets with landscape fabric so the potting mix stays above them.
- Add soil and plant normally.
- Fill through the tube until water begins to leave the overflow hole.
Why the overflow hole matters
Without an overflow, heavy rain or overfilling can leave the entire pot saturated. The side hole gives excess water a defined escape level.
One detail I would watch carefully
Different plants have different tolerance for permanently moist compost. This design is most useful for thirsty container plants, especially in warm weather. I would not assume every plant benefits from the same reservoir depth.
Optional water-level indicator
You can add a simple float in the fill tube to show the approximate water level. If you do that, keep the tube clear so the float can move freely.
The attraction for me was the same as with many DIY projects: the expensive commercial version is often just a simple physical principle wrapped in nicer plastic.