
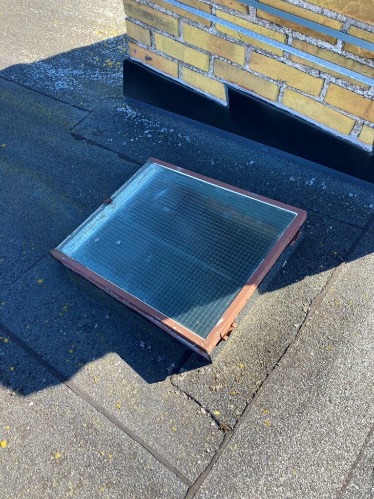
This is how I replaced an old roof window on our low-slope felt roof. The original window dated from 1958. It was still watertight, but it was single glazed, unsecured and no longer installed to modern expectations.
This is a record of my own project, not a universal roofing specification. Roof windows, membranes, roof pitches and local building requirements differ. The window manufacturer's installation instructions and the roofing-membrane instructions take priority.
Read both installation systems first
The important part was that I was not installing only a window. I was making two systems meet: the roof-window curb and the bituminous roof covering. I therefore read the instructions for both products before opening the roof.
I also checked that the roofing felt was approved for our relatively low roof pitch and suitable for installation over the existing roof build-up.
Materials and preparation
I used a fixed 600 × 600 mm double-glazed roof dome and a self-adhesive/self-sealing bituminous roofing membrane designed for low pitches, together with the matching bitumen adhesive.
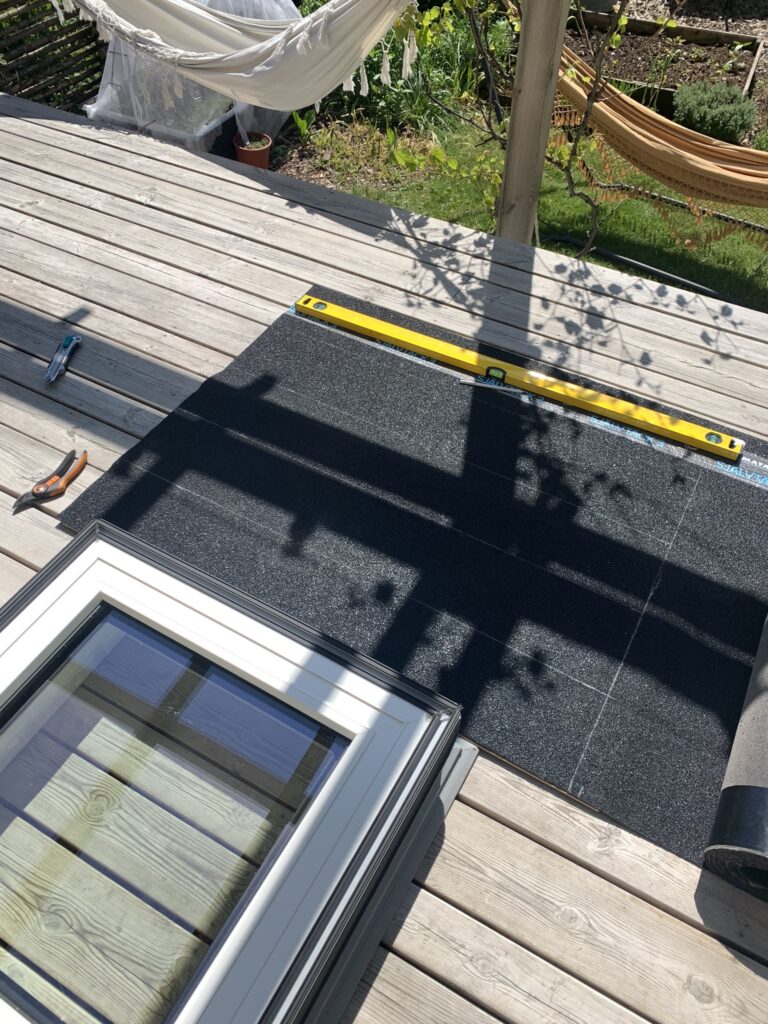
Before the work day I cleaned the roof and prepared as much as possible on the ground, including cutting membrane pieces for the flashing details.
Removing the old window
The old frame was metal. I cut it apart with a reciprocating saw and a metal blade. I deliberately avoided an angle grinder because I did not want hot sparks on a bituminous roof.
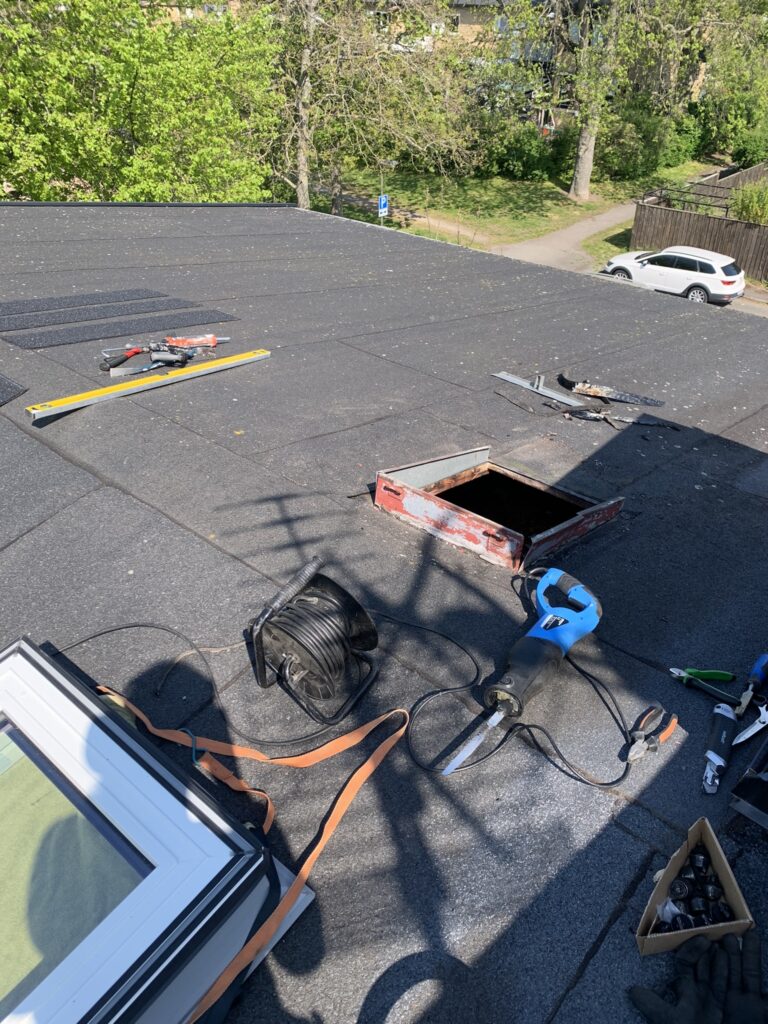
Once the old unit was out, I centred the new one over the opening and marked its footprint. The new curb needed a flat substrate, so I removed the old roofing layers where required instead of simply placing the new unit on top of the accumulated felt.
Our roof turned out to have three layers of roofing felt.
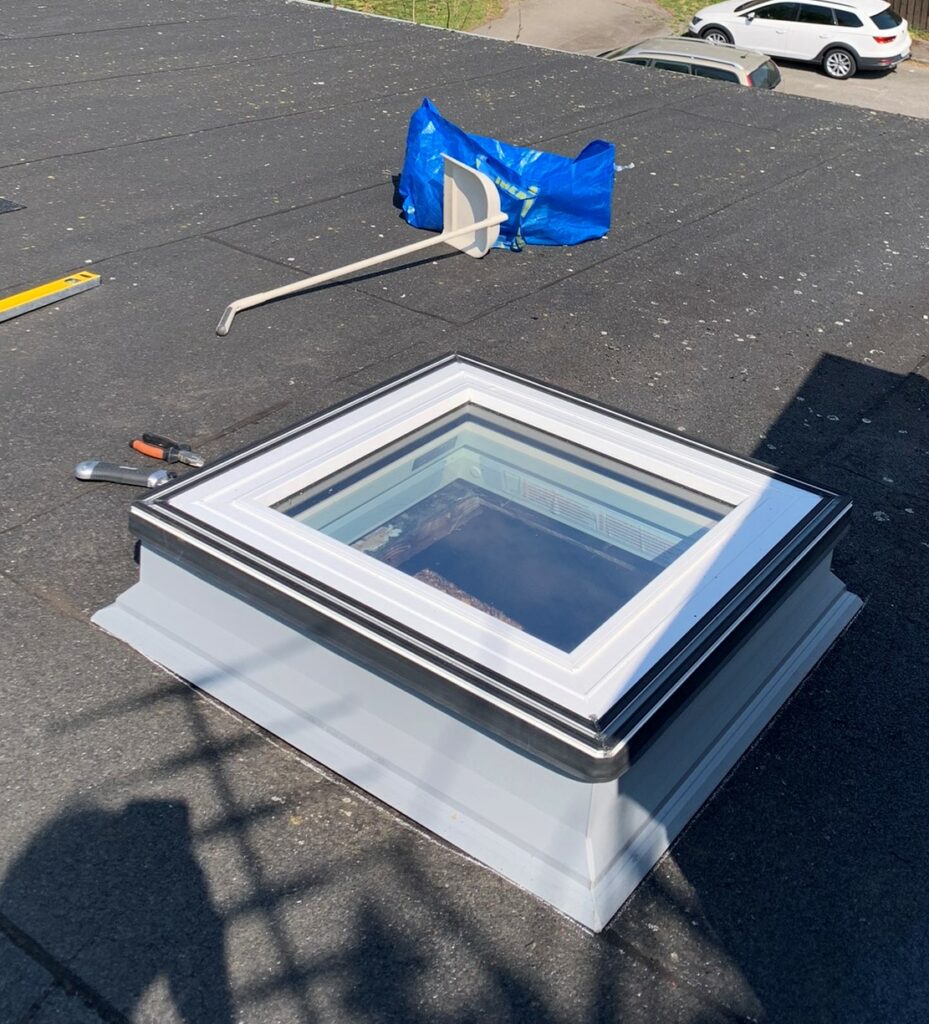
Installing and weatherproofing
I fixed the new unit according to its installation guide and then rebuilt the waterproofing around it using the roofing manufacturer's overlap and adhesive details. This is the part where improvisation is a bad idea: water has to be directed over, not into, every overlap.
I worked on a dry day and made sure I could complete the weatherproofing before the roof was left unattended.
Would I do it again?
Yes, but only with a suitable roof, safe access, good weather and enough time to finish the waterproofing correctly. The carpentry was not the difficult part. The critical part was understanding how the roof membrane should terminate around the new curb.
If you are unsure about roof structure, fall protection or waterproofing details, this is exactly the sort of job where professional roofing help can be cheap insurance.
Related: how I restored the surface of our aging felt roof instead of replacing it.