
Instead of replacing our old wooden front door, I repaired, adjusted, sanded and refinished it. The project cost little compared with a new door and fixed both appearance and function.
Start by inspecting the door
Our door had several different problems: it was hanging slightly out of alignment, the finish was tired, the veneer had old damage and the weatherstripping needed replacement.
The important first step is to separate cosmetic damage from structural damage. A door that is rotten, badly warped or insecure may need a different solution.
Adjust before refinishing
I corrected the alignment first. There is little point making a door beautiful if it still rubs against the frame or closes badly.
I also checked the lock and hardware, then removed handles and fittings before sanding.
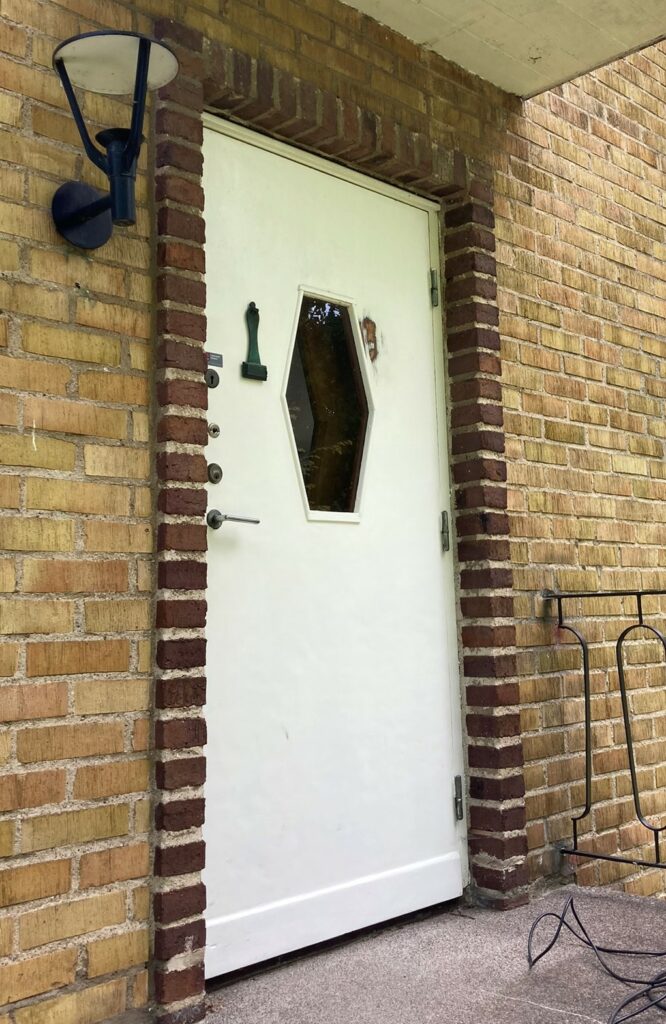
Be extremely careful with veneer
This was the biggest lesson from the project. Veneer on an older door can be very thin. Sanding too aggressively can go straight through it.
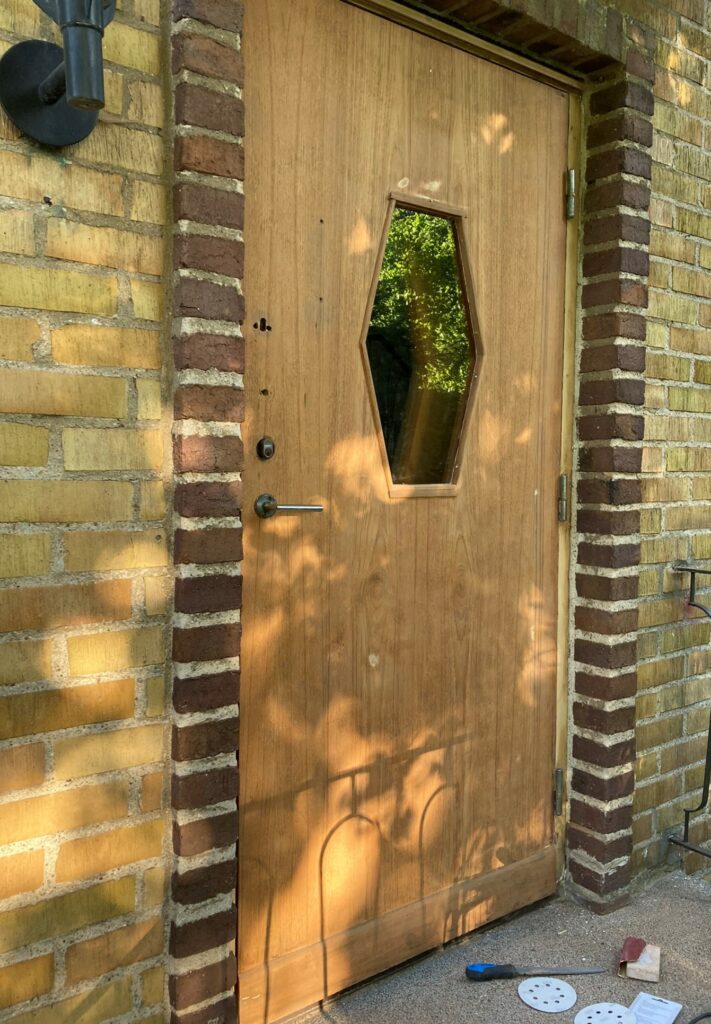
I started gently and only used as much abrasion as needed to remove the failed finish and level the surface.
Oil and colour repair
Our door has teak veneer, so I used teak oil for the finish. Areas where the veneer had already been damaged were colour-matched with stain before the final oiling.
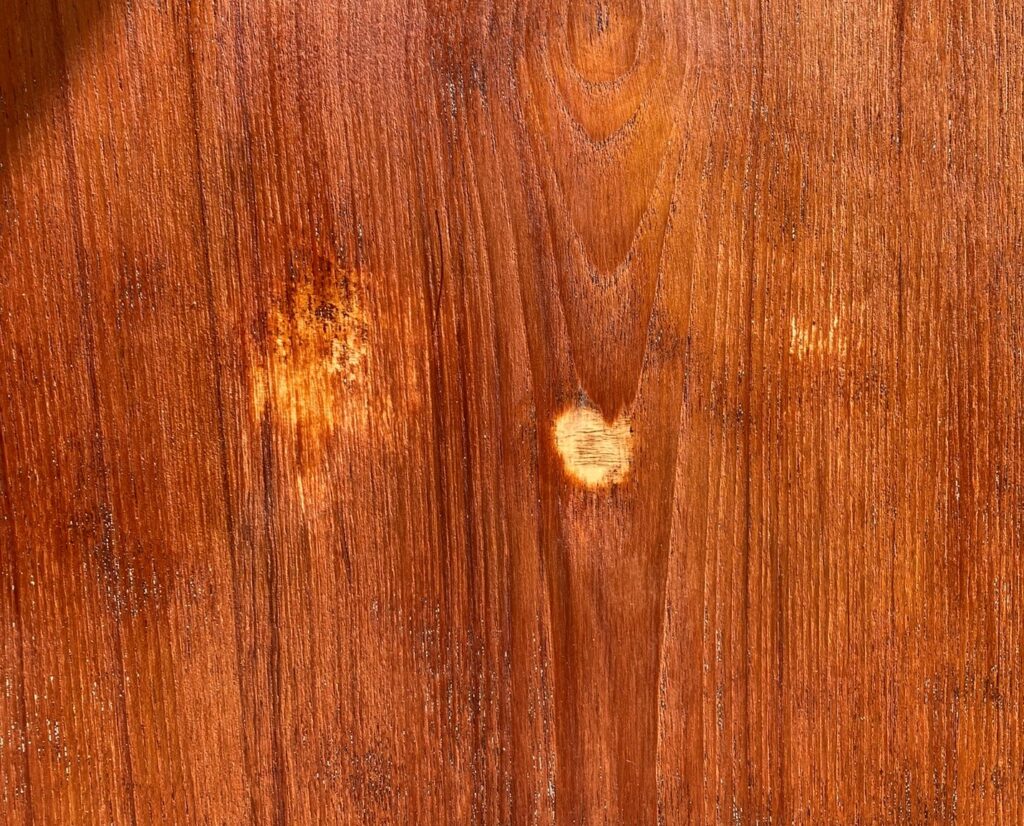
Replace the weatherstripping last
Once the door was aligned and refinished, I fitted new flexible weatherstripping sized for the actual gaps. A seal that is too thick can make a door harder to close, so measure rather than guessing.
Our sequence
- Inspect the door and frame.
- Correct alignment and hinge problems.
- Check and service lock hardware.
- Remove handles and fittings.
- Remove old weatherstripping.
- Sand carefully.
- Apply the appropriate finish for the wood.
- Reinstall hardware.
- Fit new weatherstripping.
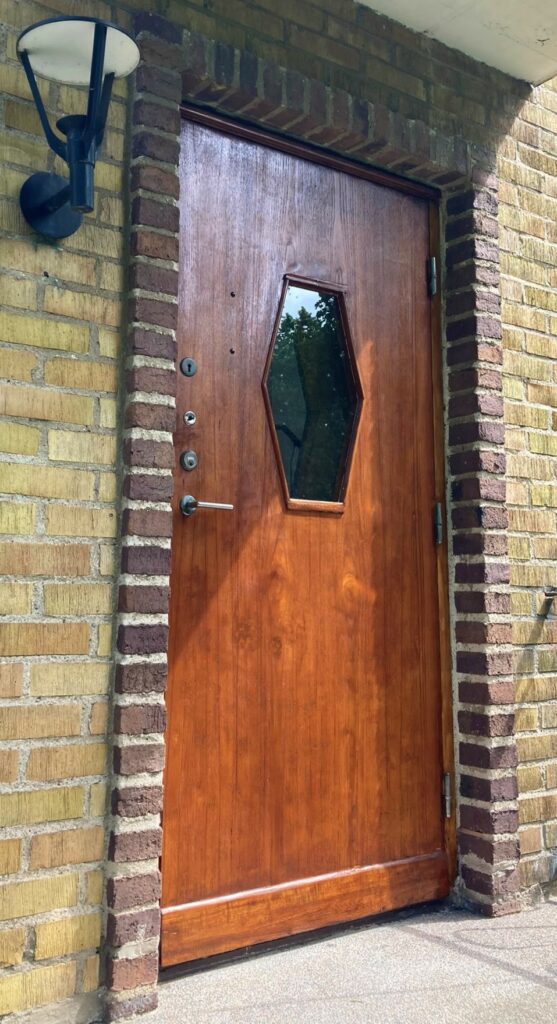
This was one of those satisfying repairs where replacement would have been much easier—but also much more expensive and wasteful. The old door had plenty of life left once the actual problems were dealt with.